Project: Proj_5_Maya_Basic_Composition
Setting up MAYA
Setting up a project
Create a folder on you desktop call it Maya_Basics_Lastname_Project
Open MAYA
File > Project Window
Click New
Name the Project: “Basic Composition”
Under Location find the folder you created on your desktop
Select Accept
Now go back to your desktop and look at the folder. Maya should have created a bunch of sub folders.
The file you will be working on is a ‘Scene’
Polygonal Modeling
There are two types of Modeling – Polygonal and Nurbs. We will learn Polygonal first.
Create > Polygonal Primitive> now click the double lines to release this window
Check the box that says Interactive Creation this makes it easier to build things with your mouse drag.
You can also use the Polygon tab to find the many shape building tools.
As you build an object you will see its name, and information in both the Channel Box and Attribute Editor
Modify your shape
In Attribute Editor > go to polySphere1 (third tab) this will allow you to adjust Radius, Subdivisions, and Axis
Polygon Notes:
Cube – you click/drag once for its base, click/drag again for height.
Cylinder – you can click Round Cap to give it a point, Adjust Subdivisions for Caps to make a ‘pill’ shape
Cone- click/drag base, click/drag heght. Also play with cap
Plane- is a flat plane
Torus – Donut, click/drag radius, click/drag thickness
Pyramid- click/drag base
Pipe – *THREE CLICKS – click/drag base, click/drag height, click/drag thickness of wall
SUPER BASIC COLORING
***Colors/Materials/Textures in Maya is a super huge topic.
For our first experiments we can add color, this may not be the best way to do it in more complicated projects but it will work for a basic understanding! Don’t do too much here just yet, it will get complicated!
Select your object. In the Attributes Editor the last tab will say ‘lambert1’ This represents the gray shaded colors you can see. ‘lamber1’ represents all the defaults greys on all the objects. So you don’t want to change this color but rather add a new ‘lambert’ so that you can be unique in your coloring.
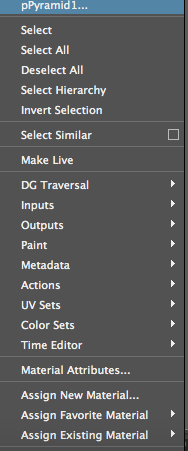
Right click your object and go to Assign Favorite Material> Lambert.
You will notice that now you have a new tab called ‘lambert2’ (numbers will increase as you add more)
Change the color value and the name!
Now you can reuse this color or create more.
Click the object > RIght Click > Assign Existing Color
**keep it simple with this, we will spend at least a whole week just on color!
Interface (SO MANY BUTTONS/OPTIONS!)
File Menus
Menus can be pulled out by touching double line
Change the Menu Sets
(top left of screen) Modeling, Rendering, etc… We will stay in Modeling for now.
![]()
Toggle buttons on far right
![]() Modeling Tool Kit
Modeling Tool Kit
Character Controls
Attribute Editor*
Tool Settings
Channel Box*
*these are the most important for now
Timeline – *we’ll get to this later
Help line – is at the bottom of screen tells you what you are working on
Views
![]()
Single Perspective
Four View
Outliner & Perspective
*and plenty more that we don’t need to worry about yet
Each View Port has an options bar
You can change lots of things along this top bar.
Panels lets you change the view setting quickly to a default.
Box icons are for various sharing and lighting – *this will be more relevant later
Screen Space Ambient Occlusion – gives soft realistic shades around objects
Anti Aliasing – smooths out gradients and gives more realistic look
View
Select Something
View>Look At Selection (center in camera)
View>Frame Selection or F
View>Frame all zooms out to show all things
Hot Keys – Object Appearance
4- Wireframe mode
5- Shading (no textures)
6- shading and textures
7- ligthing
Hot Keys – Selection, Move, Rotate, Scale
Q – Select tool
W – Move tool
E – Rotate tool
R – Scale
Option key + Left Click (mac) or Alt key + Left Click (pc) – rotate/orbit view
Scroll Wheel – zoom
Option key + CLICK DOWN ON SCROLL WHELL- pan view
HOLD Space Bar will reveal the HOT BAR – lets you select from many options
TAP Space Bar = 4 camera view Or Flat view depending which you used last
You can go to each view and tap SPACE again to change the viewport as well.
Select Tool
Q= select tool
left click to select
select empty space to deselect
Hold Shift to add to selection, and to also take away from multiple selections
Also you can make a marquee selection to grab whats in your frame
Double Click the Select Tool to Open Select tool Options
Play with SOFT SELECT to make the selection tool have more options and changes the intensity of your selection tool.
Check SOFT SELECT and change FALLOFF MODE to OBJECT and adjust FALLOFF RADIUS
*Make sure to TURN OFF Soft select after to avoid problems
Move Tool
W= move tool
left click to select
select empty space to deselect
Drag the XYZ axis or you can click CENTER to free move
Move the Squares in the XYZ axis to also restrict your moves
Use your 4 camera view to restrict the movements along on axis
You can adjust the setting for the Move Tool in the TOOL SETTING
You can also use SOFT SELECT here to make large moves across many shapes
turn off soft select when u are done!
Rotate and Scale
*Similar options as MOVE explained above
Rotate & Scale Change Reference point
Adjust pivot/scale point by tapping the D key on your keyboard
Duplicate
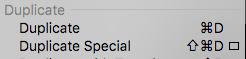
Command + D is best for copying (and avoids annoying message in student version of MAYA)
Edit > Duplicate Special to adjust how to duplicate.
Under Translate, you can adjust the X, Y, and Z. try adding a number to Z axis (third box) and number of copies
Copy vs. Instance
The Default Setting for Duplicate is to create a COPY of you object. You will lose the ‘Poly’ controls of the duplicated objected.
If you want to create an identical twin of your object that modifies as you change the original, you should create an ‘INSTANCE’ instead of a ‘COPY’.
To modify this setting, Edit>Duplicate Special and then click on the small square symbol to open the Duplicate Special Options. Here you can choose Instance vs. Copy.
*to make a copy that has editable ‘poly’ controls you can do this in the Outliner
Channel/Attribute Editor
The Channel & Attribute Editor will show you the movements you make to your object
In Channel Box – If you select a specific channel, you can adjust by typing
OR you can select the variable and CLICK AND DRAG the CENTER button on mouse to adjust it with drag
Reset your adjustments
Top menu> Modify> Reset Transformations bring object to where you started
To make your new adjustments the default Modify> Freeze Transformations puts it back to zeros
Attributes and Nodes
Transform Attributes – allow for transformations
Limit Information> It can contstrain your move, rotate, scales.
Display
Snapping
Use these tools to snap to certain grids (they may be hidden on a smaller screen)
To adjust the grid size Windows>Settings/Preferences>Settings>Working Units you can set it to centimeters, feet, etc…
Snap to Grid – Aligns to Grid
Snap to Points – it will align to points (vertices) of another object
*we will discuss the other snaps later!
**REMEMBER TO TURN THIS OFF WHEN YOU DONT NEED IT!
Outliner
Window Outliner – shows a hierarchy
Cameras
Groups
Objects
Lights
You can use the search menu to find specific pieces and to navigate
Hierarchy – Parent & Child
To move pieces in Hierarchy
Select Object in Outliner
CENTER CLICK and DRAG it to another OBJECT and now it is a child of the other OBJECT
Groups
You can select multiple objects and put them in a group
Select the objects you want, go to EDIT>Group and change the name by double clicking
Now you can modify the groups together
You can add MULTIPLE PIVOTS w GROUPS
Put the Object in a GROUP
Now you get an additional pivot point
Press DOWN D and move the pivot point
Hide
Display > Hide or SHOW
In OUTLINER Select object, to hide > Conrol + H
to bring back go to OUTLINER and press Shift +H
Layers
*We will focus on Display layers
Select something> in CHANNEL BOX> DISPLAY go to LAYERS > CREATE LAYER FROM SELECTED
v= visibility
t= template mode, see only is outline and makes it not selectable
r = reference mode you can see it but cant touch it
p = is used for playplack in animations *don’t worry about this yet
You can Right click on the layer to ADD and REMOVE selected objects
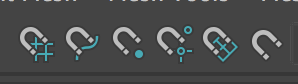
Selection Masks
 Use these tools to adjust the way you select (they may be hidden , click the little expand symbol to bring them out)
Click the Arrow- the toggle ALL OBJECTS OFF makes nothing selectable.
For each tool in this section you can right click and choose which kind of thing to be selectable
*this will be more important as we start to build more types of things
Rendering Settings
Arnold is the ‘rendering engine’ (software that does rendering) in the new version of MAYA 2017.
MetaRay used to be the rendering engine.
To make sure Arnold is installed:
Windows> Settings/Preferences> Plug in manager
Find
mtoa.bundle and check both
 *if it was not checked, restart after doing this.
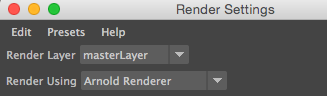
Check Render Settings:
Click the Display Render Settings box ![]()
make sure it says
Render Using – Arnold Renderer
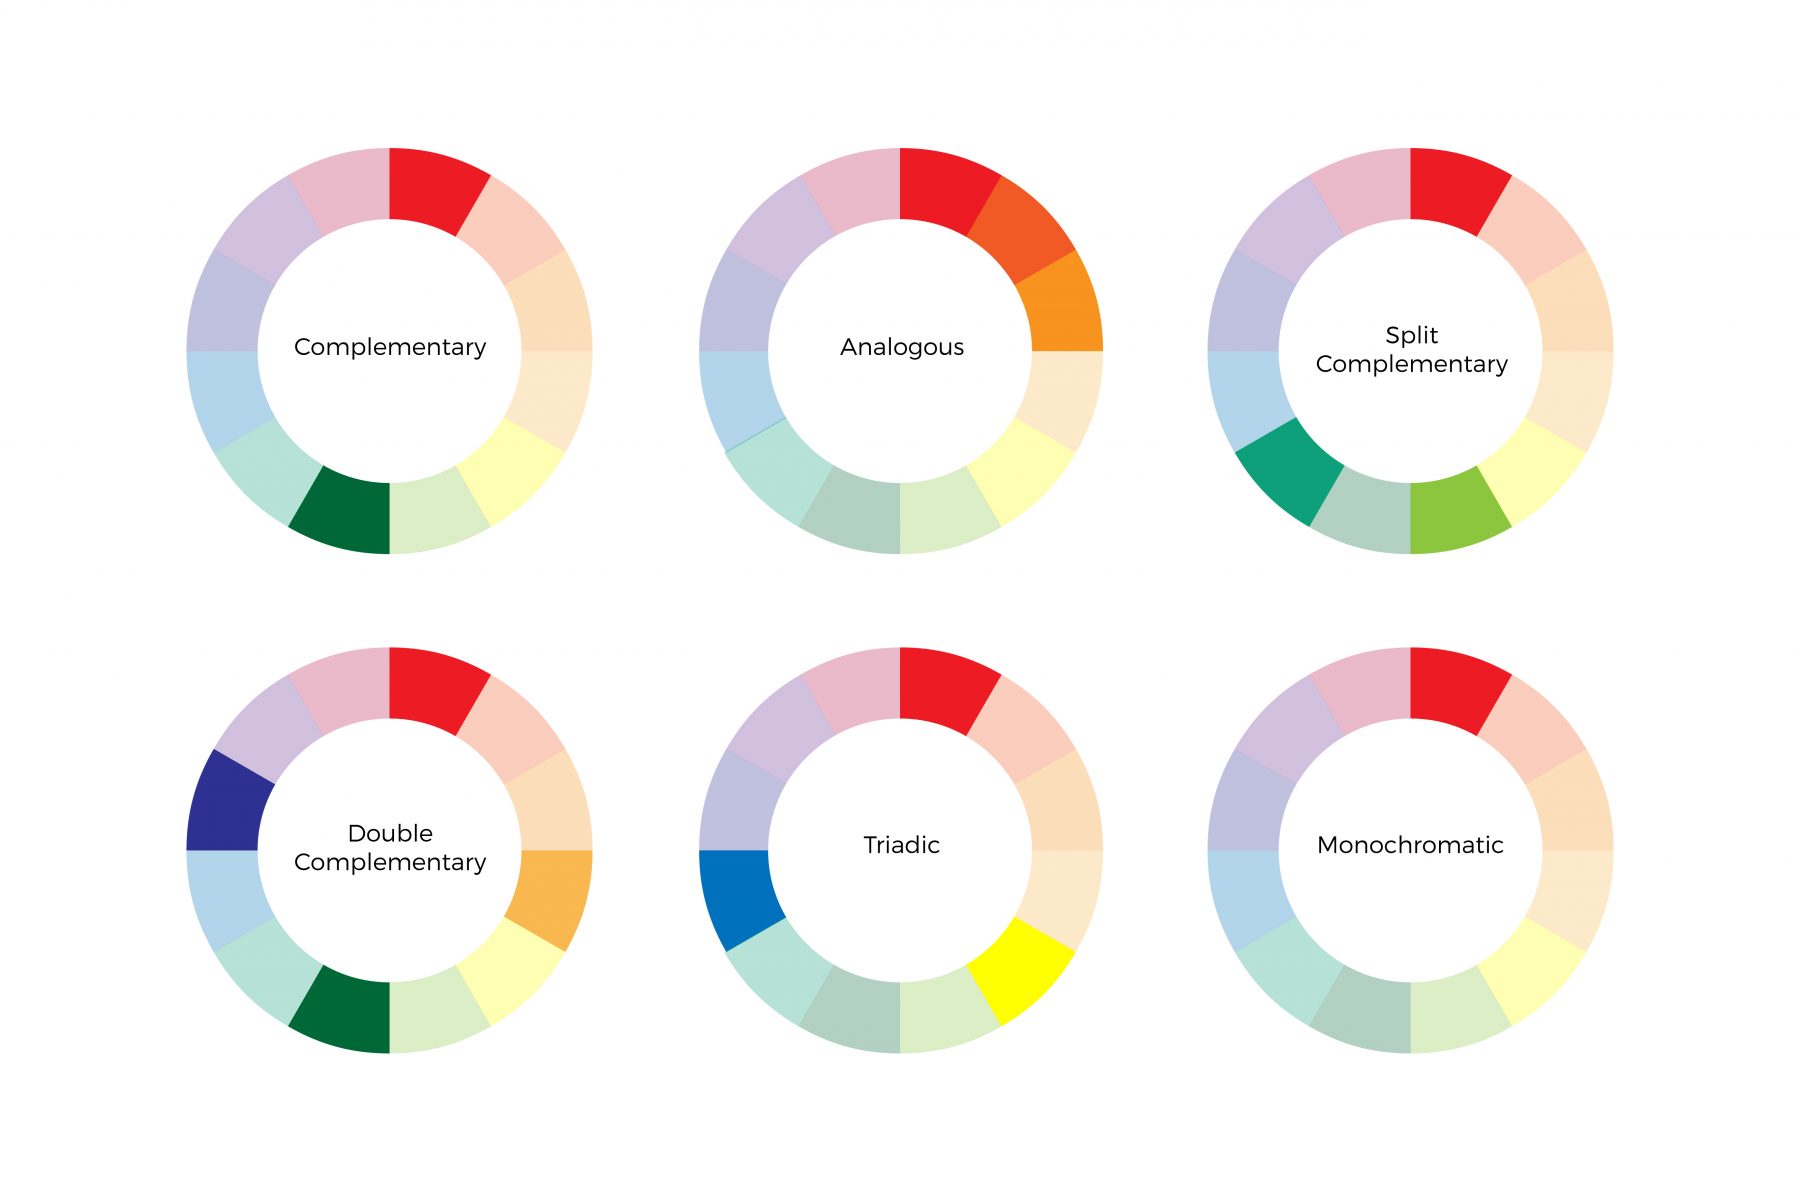
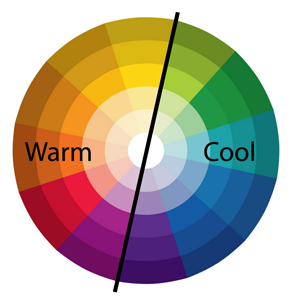
Color Relationships: