Project:
Proj_6_Storyboardpro_cuts
Cuts
YOUTUBE LINK : Great Video on Cuts
Transitions
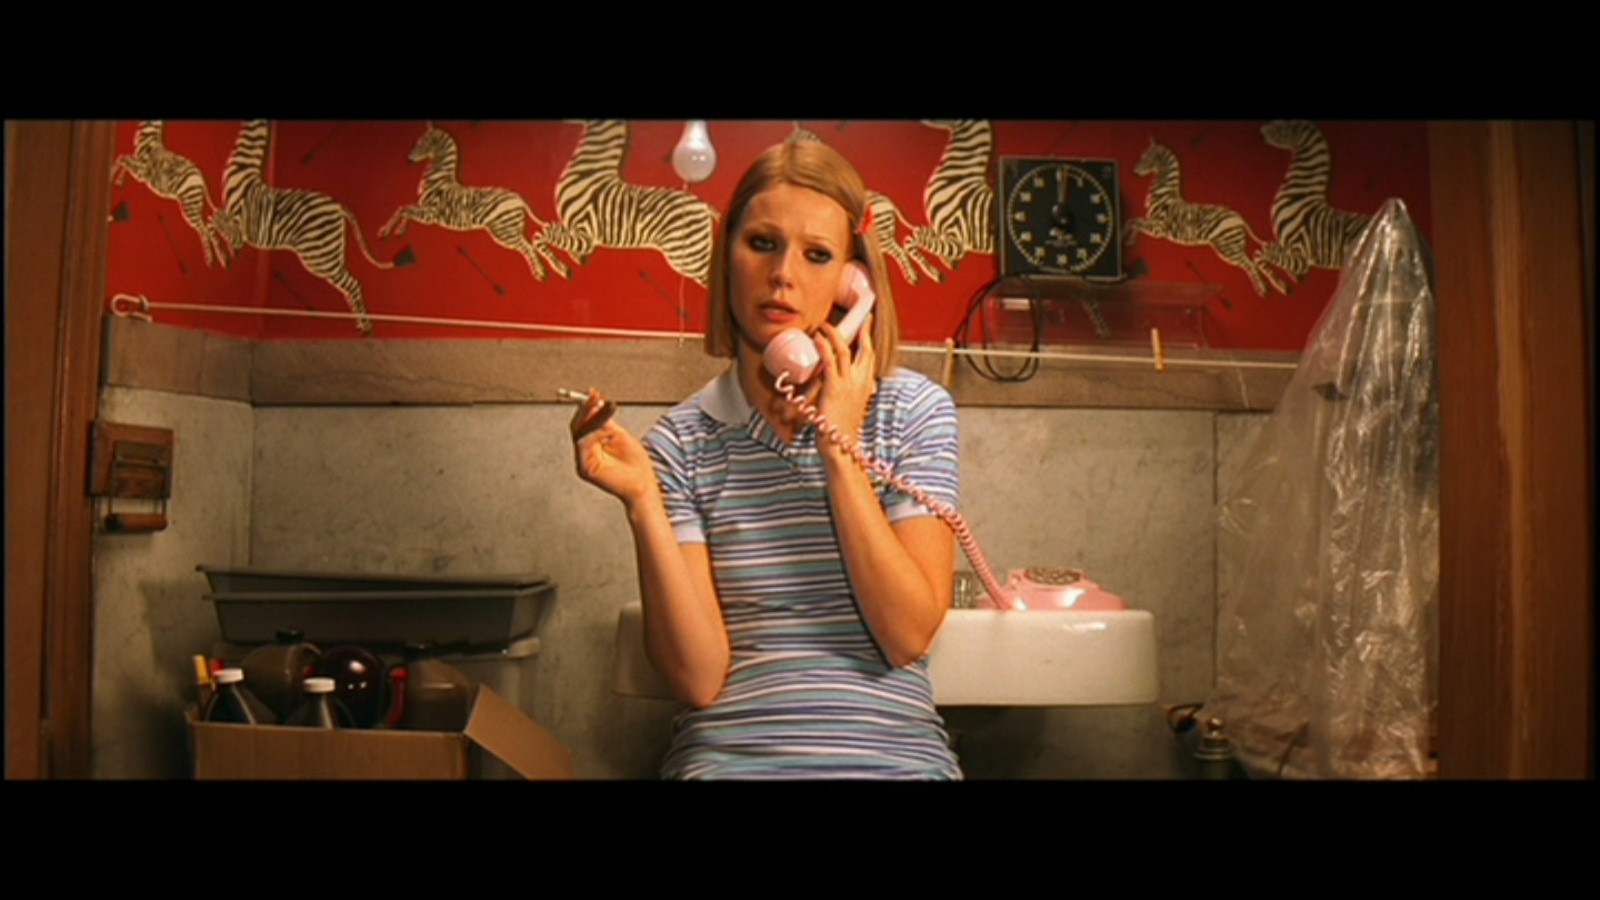
Star Wars and the Wipe Transition
Cutting on Action
Making the cut as the character goes through an action, can be dramatic or subtle
The Cutaway Shot
A reaction shot. The camera moves to something else. Can be a conversation, a point of view or emotional, etc.
The Cross Cut
Helps to break up long dialogue or to add intensity to emotion. Two separate things happening at the same time.
Jump Cut
Shows passage of time or Comedic or Intensity, Speed, Urgency.
Match Cut
A compositional or Action similarity between the cuts
Invisible Cut
Seems like its one continuous cut but it is a trick
Smash Cut
Jarring cut to a completely different scene
Fade In/Fade Out
Passage of time, transformation, etc
Iris
Circle shape based on old film techniques
Wipe
Vertical wipe across screen based on old film techniques but can also be other shapes
L Cut
Using an audio transition between cuts, audio carries over from previous scene
J Cut
Using an audio transition between cuts, Audio comes in before the cut
Storyboard Pro
Camera moves
Add keyframes to your camera moves!
Add a keyframe to the beginning of the panel and the end and then use the Camera tool to move the camera frame.
Switch to Timeline View > Click the Camera Button > Add keyframes to set the Camera, move the Play head and readjust the Camera and add another keyframe!
![]()
![]()
Transitions
You can transition between Panels and Scenes/Sequences of between Scenes and Sequences. Right Click and choose transistion. To modify the type and duration of the transition go to the PANEL tab and choose.
NOTE- to see your transitions make sure the little EYEBALL CAMERA is on.
Sound
You can add sound to the timeline in the Audio track section. Go to File > Import > Sound Files to find your files.
- From the top menu, select Sound > Show Waveform. This option must be set first.
- To enable the Show Volume Envelope option, do one of the following:
| ‣ | At the bottom of the Timeline view, click the menu 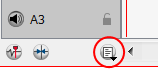 |
| ‣ | From the top menu, select Sound > Show Volume Envelope |
| ‣ | In the Timeline view, right-click in the audio track area of the Timeline view and select Show Volume. |
| ‣ | In the Sound toolbar’s extra buttons, click the Show Volume Envelope |
A blue line, indicating the sound level, is displayed for each sound sequence. White squares mark the points at which the sound changes to a new level.
Hold down the [Alt] key and click the line to add a new marker. A plus sign (+) on the cursor indicates that a keyframe will be added. You can add an unlimited number of volume keyframes.
Class Resource Files:
LINK TO SOUND 1
LINKT TO SOUND 2