Tablet Tracing and Tips
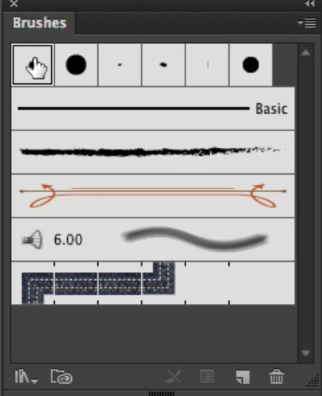
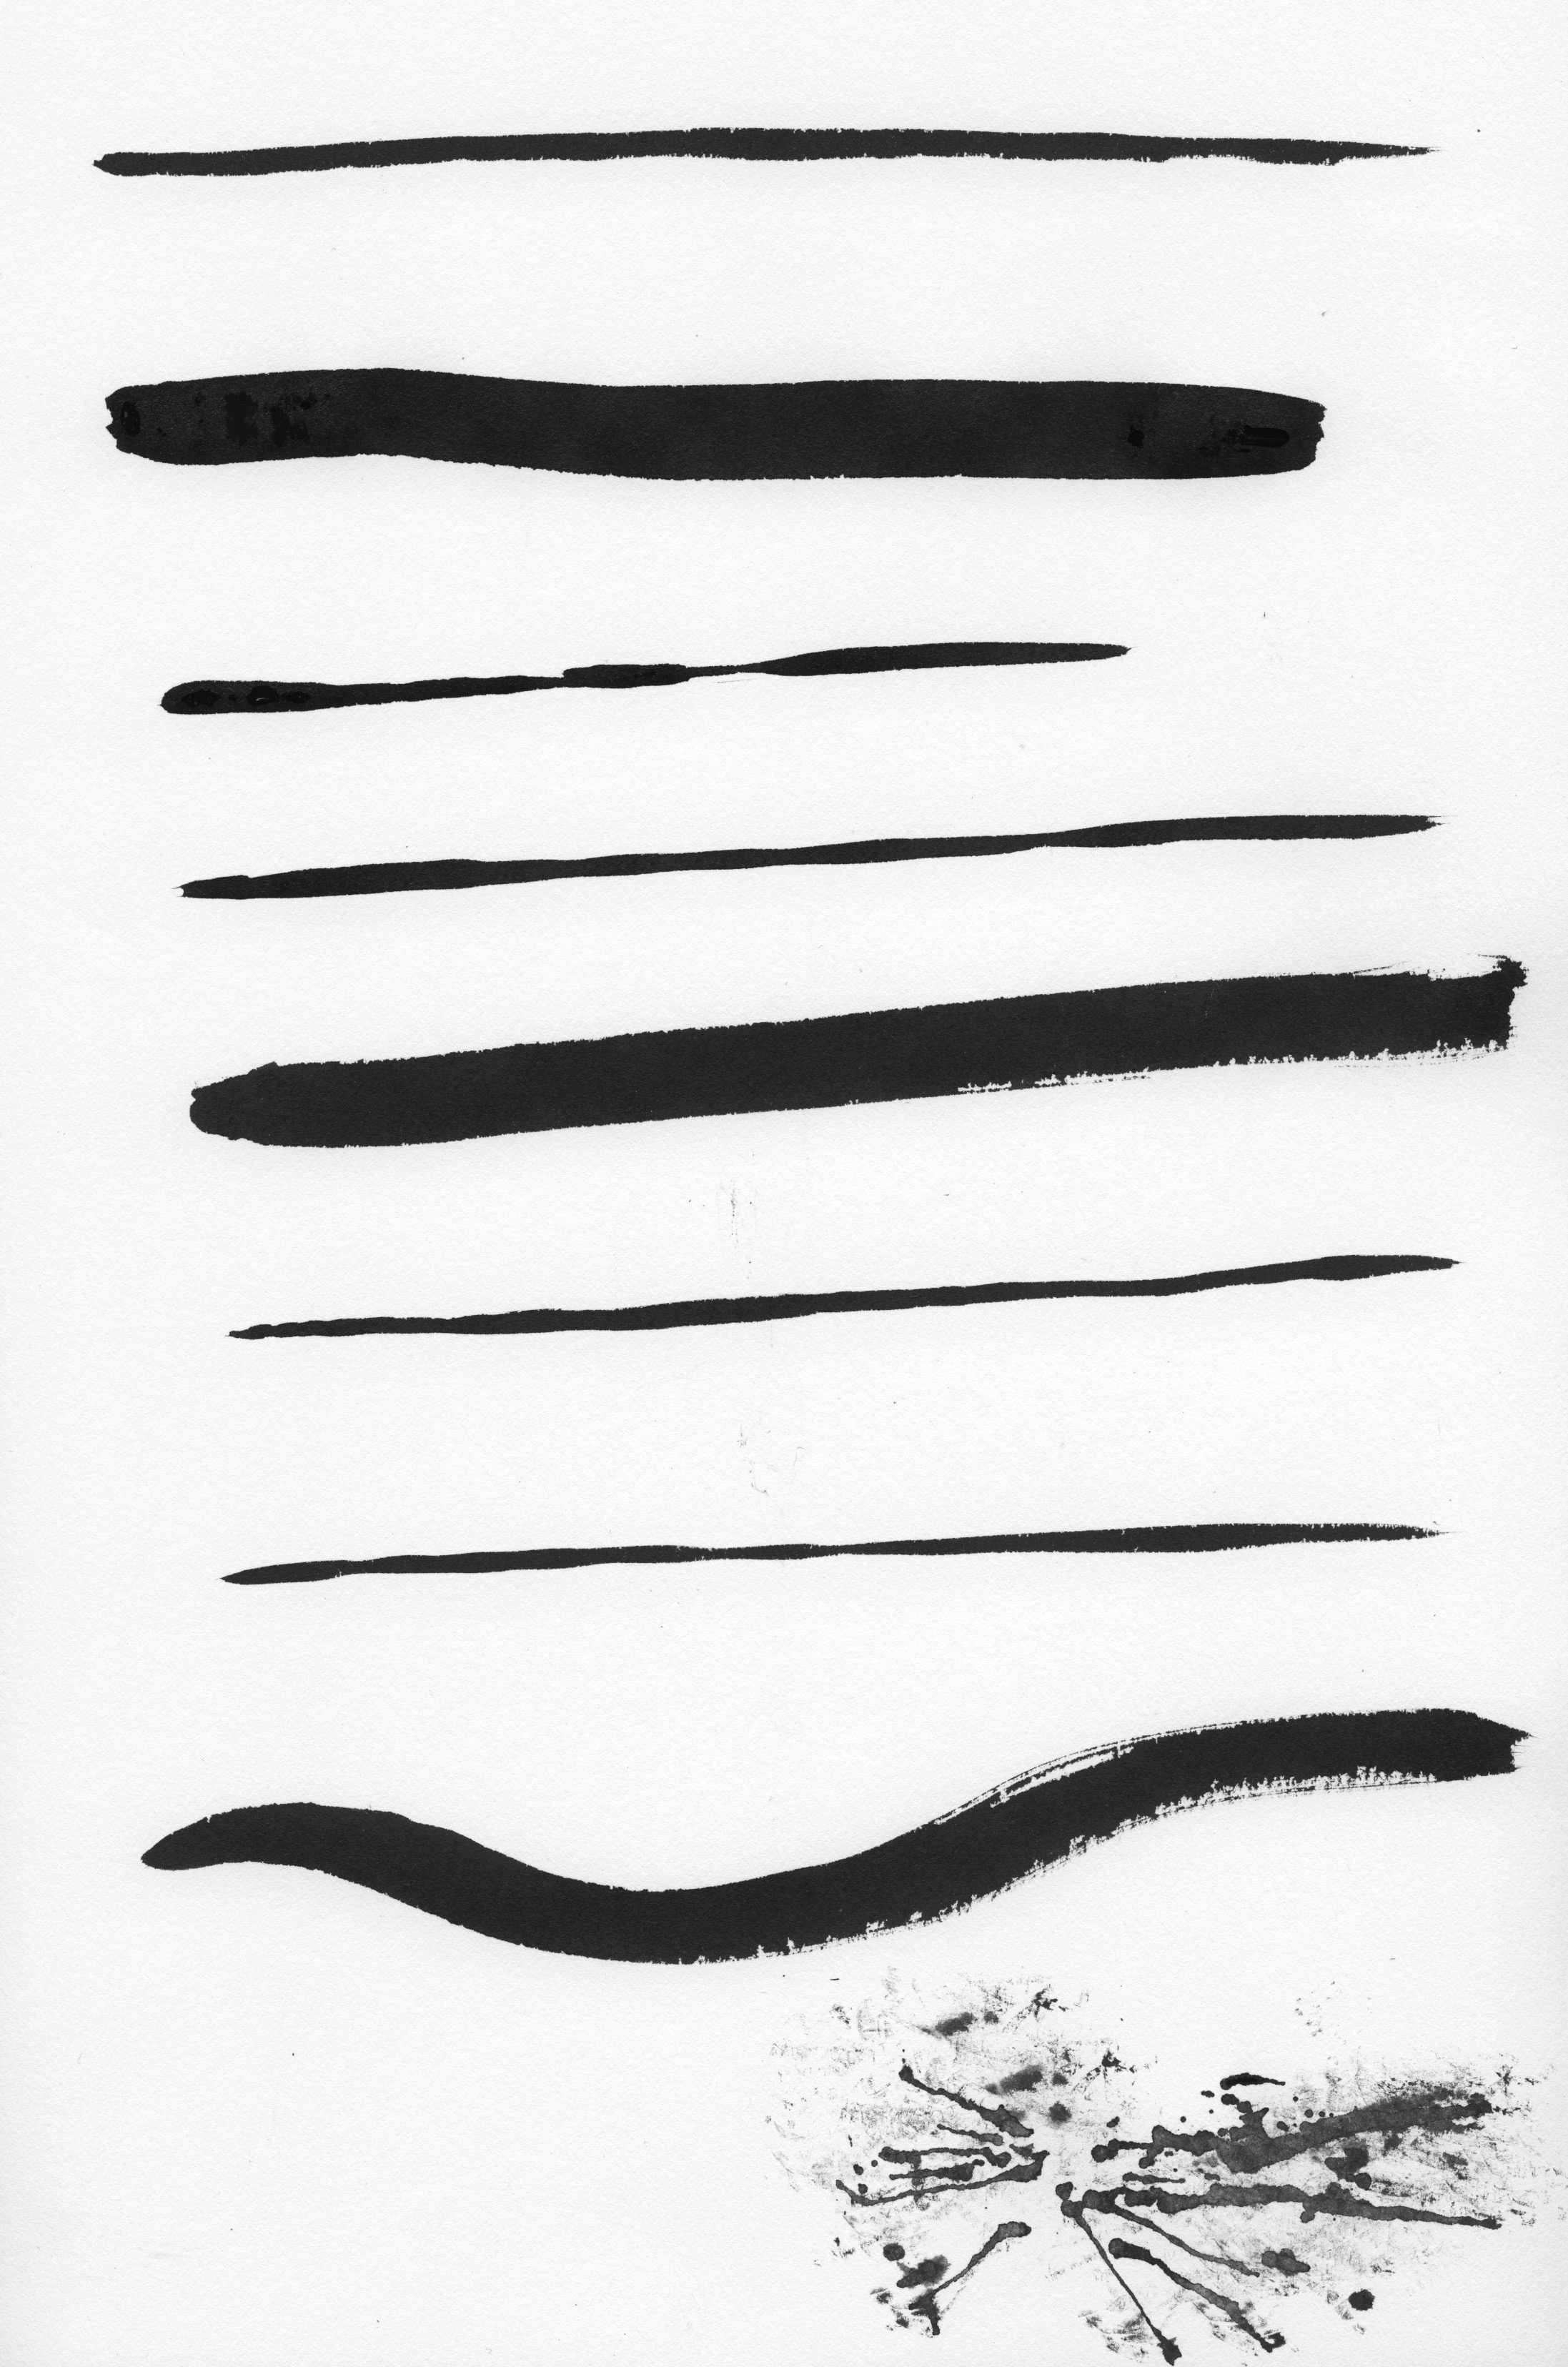
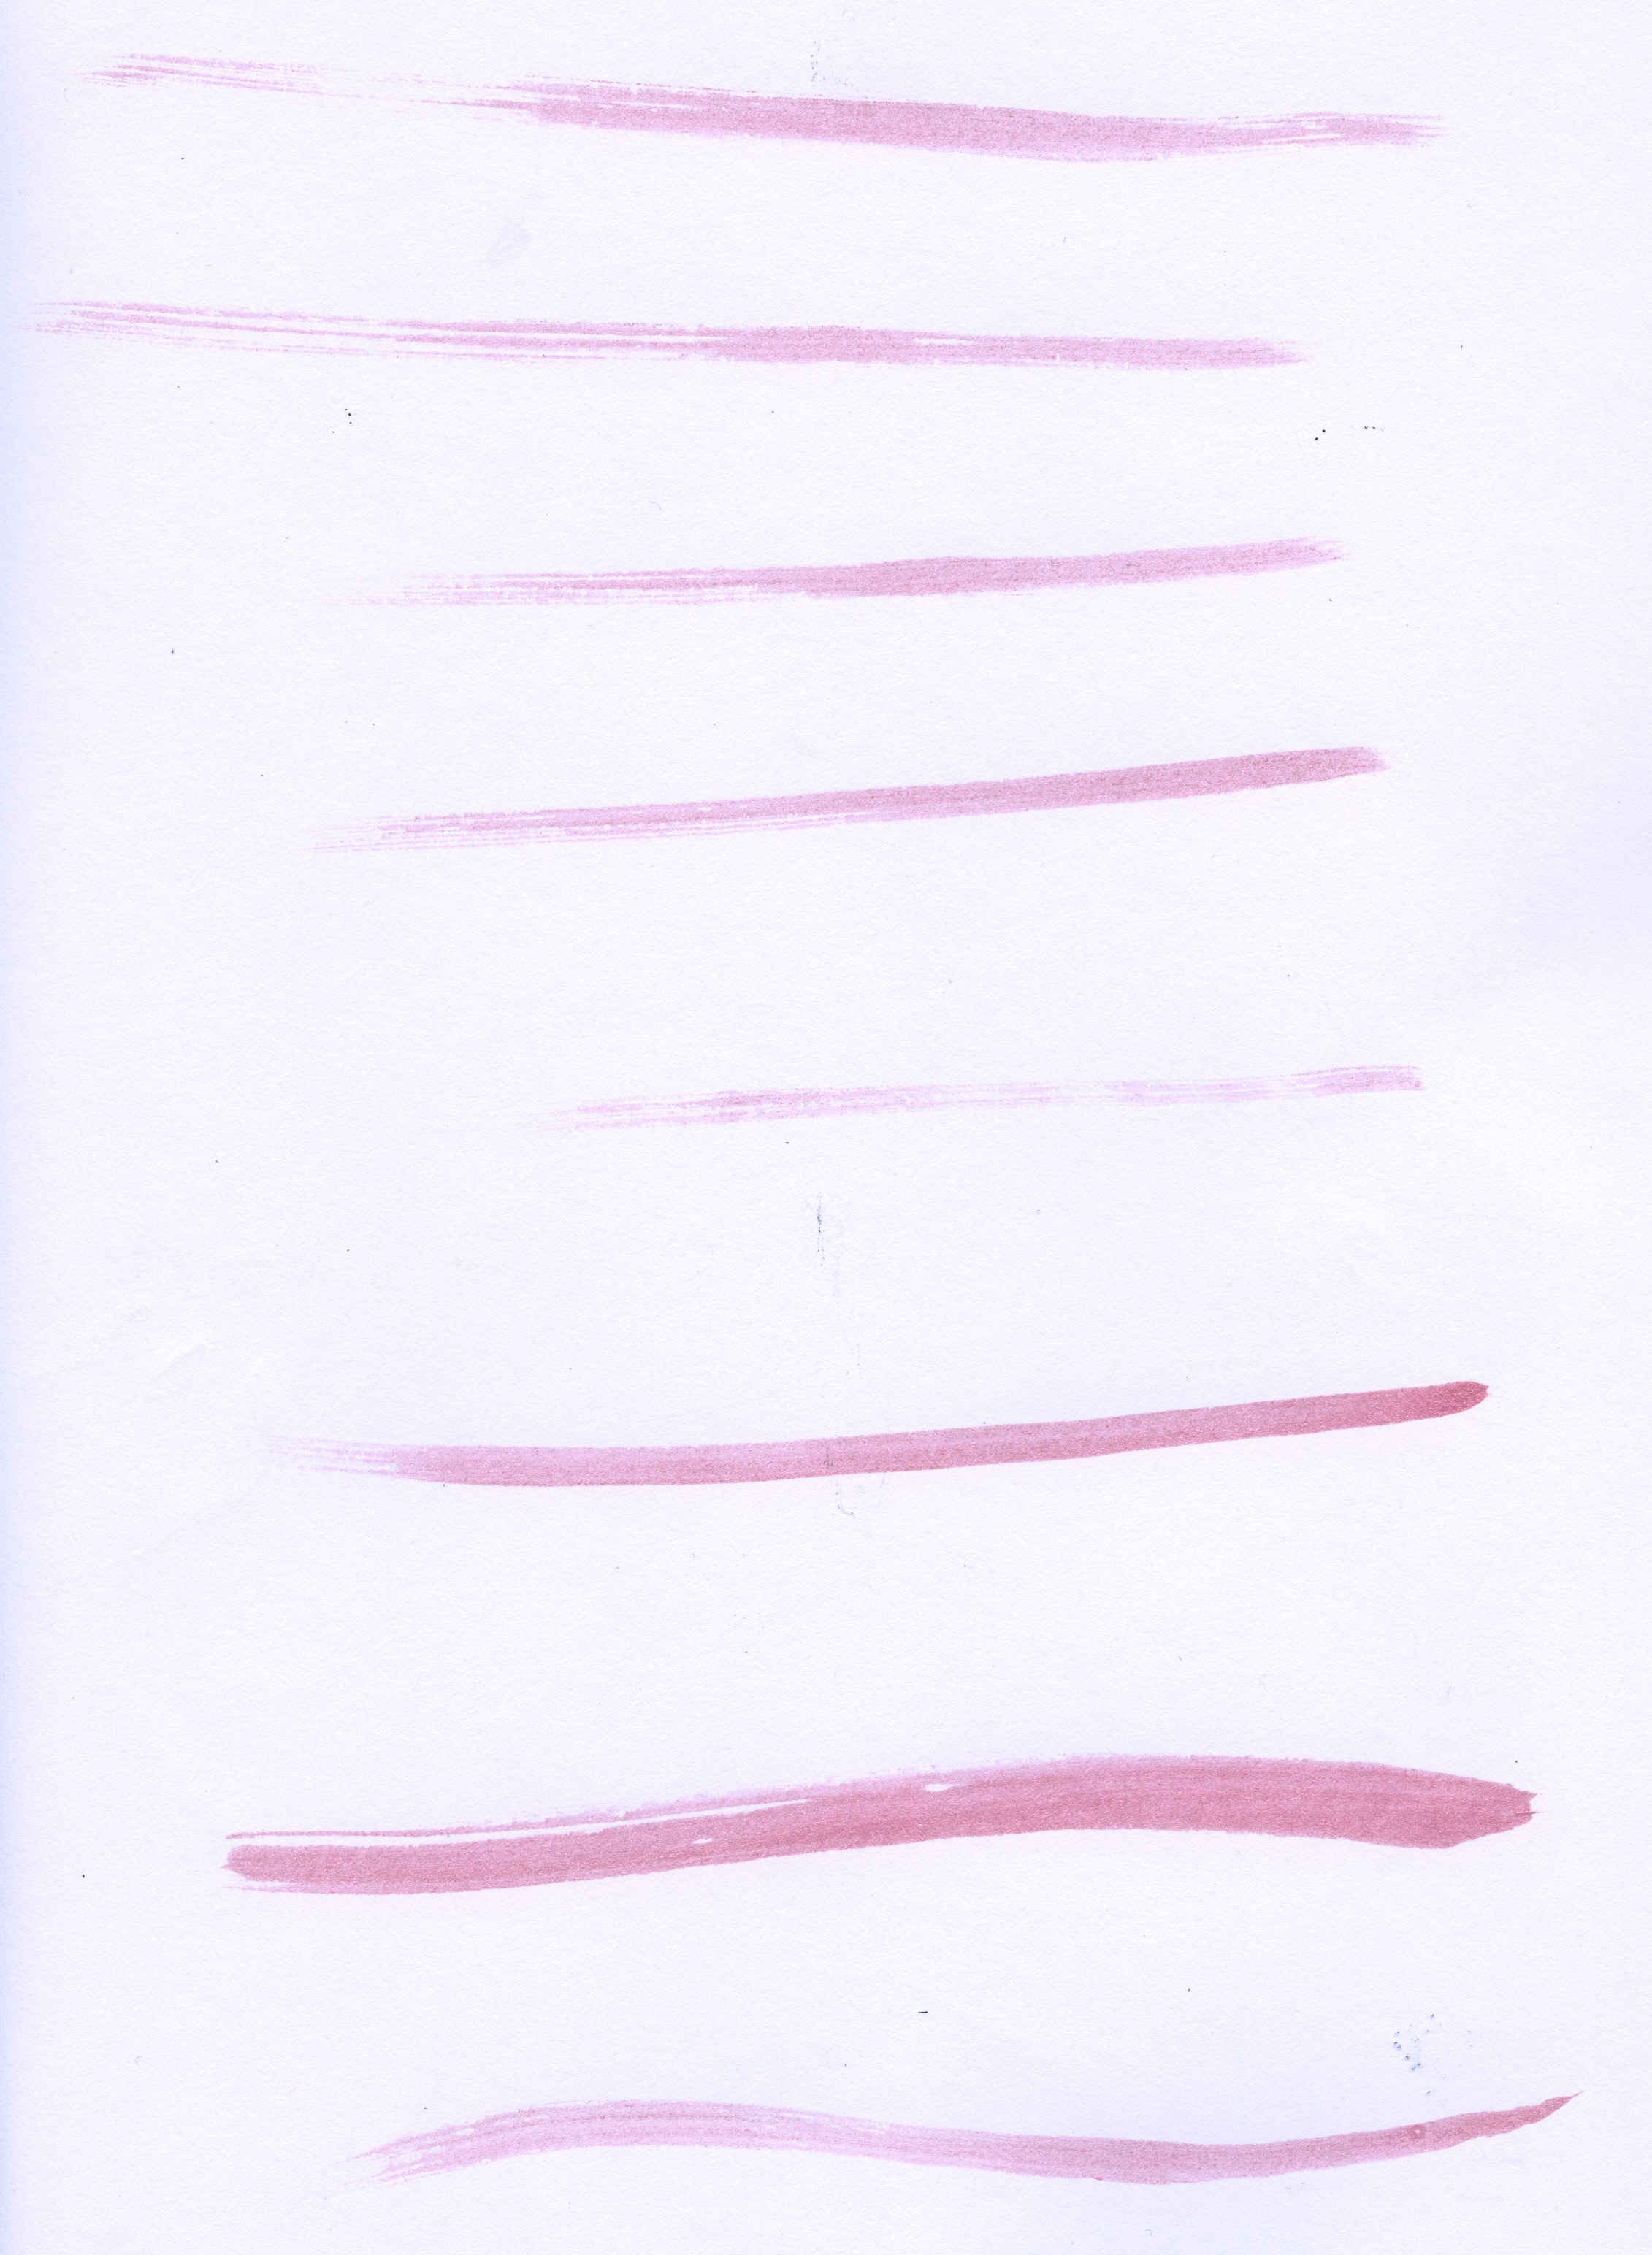
Setting Up Tablet and Brush Settings in Illustrator
1. Select the Brush Tool.
2. Go to Window>Brushes
3. Double click the brush you want to use in the brushes menu, this will open the settings (the first row are calligraphic brushes and are easy to use)
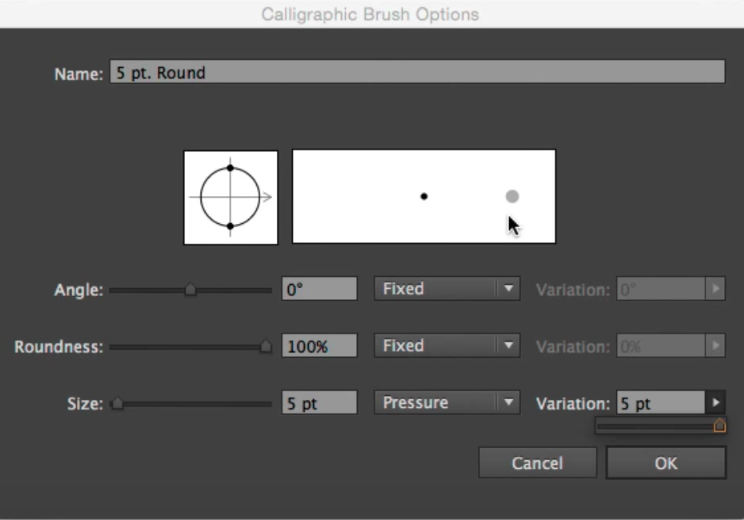
4. In this options window adjust the Size menu and change FIXED to PRESSURE. Adjust the SIZE of the brush and the VARIATION. this will give you a brush that is sensitive to pressure and grows in size with pressure.
5. Follow the same steps above to adjust the pressure sensitivity of the BLOB BRUSH and ERASER. Select either the BLOB BRUSH or ERASER and repeat steps 2 – 4.
6. The BLOB brush works in a similar way but it makes FILLED paths, instead of strokes. The ERASER brush works in a similar way but it erases and separates filled shapes.
USING LIVE PAINT
This technique makes it easy to trace your drawing, clean up brush strokes and fill in color.
- Open Illustrator, Create a new document.
- Place your drawing into the document, File > Place, make sure that the LINK box is unchecked.
- Lock this layer and then add another layer.
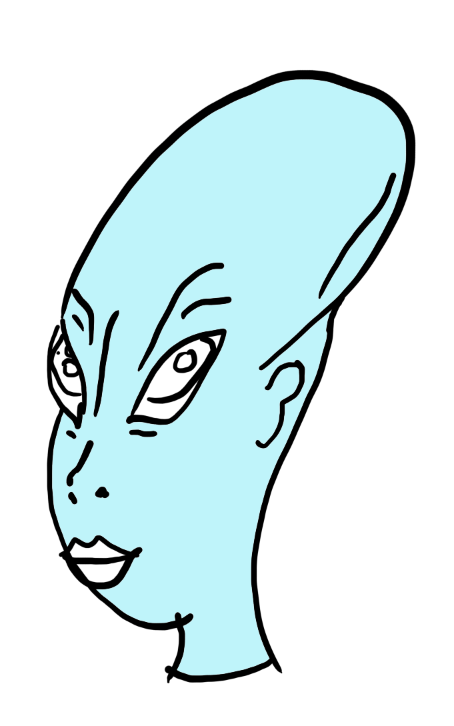
- Use your brush tool to trace your drawing. Make sure to draw closed objects, it will make it easier to paint later.
- When you are done tracing- SELECT ALL (COMMAND + A), and then go to OBJECT>EXPAND APPEARANCE.
- Then OBJECT>LIVE PAINT> MAKE. This makes each of your strokes into separate shapes.
- Then OBJECT>LIVE PAINT> EXPAND. This makes each of the separate shapes selectable.
- Use the DIRECT SELECTION TOOL (white arrow) to select any chunks of your strokes you want to delete.
- When you are done, SELECT ALL (COMMAND + A) and go back to OBJECT>LIVE PAINT>MAKE. This makes your drawing fillable with Live Paint.
- Get the LIVE PAINT BUCKET TOOL and add colors as necessary.
- Now got to OBJECT>LIVE PAINT>EXPAND.
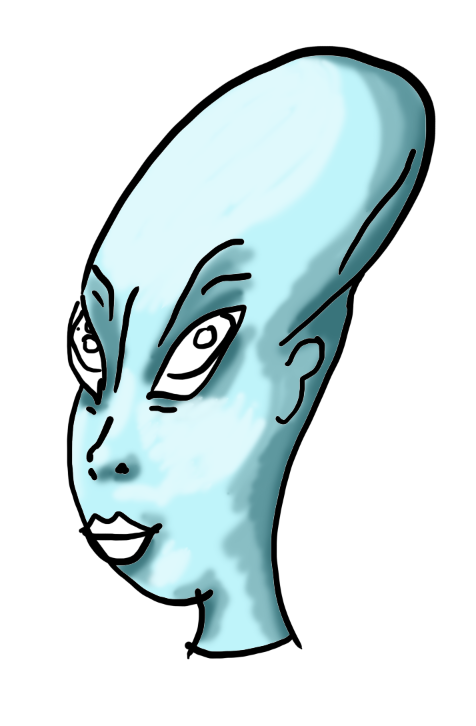
- To add shading, use the DIRECT SELECTION TOOL and select a shape.
- Now use the KNIFE TOOL and make a selection of the area you want to slice from the shape. Make sure you make the Knife tool return to where it started.
- Now get the DIRECT SELECTION TOOL and select the section made with the KNIFE. Change the color as necessary!
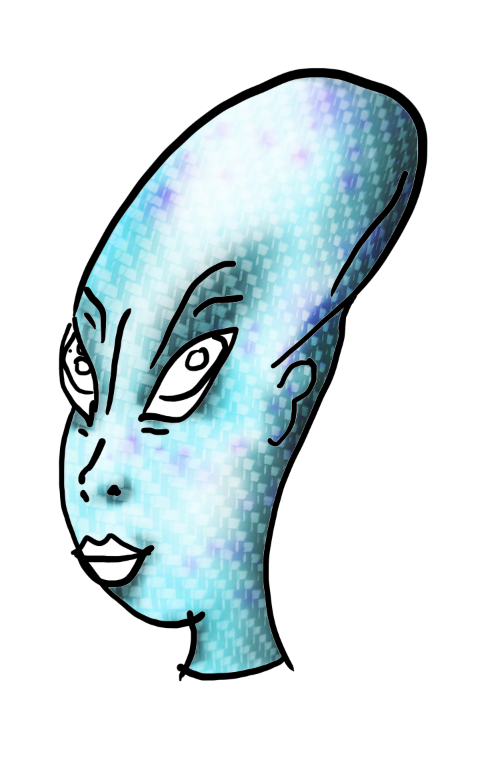
Image Tracing with Illustrator
Image Tracing
1.Open Illustrator.
2.File > Place to place the image you want to trace. Make sure to UNCHECK the link box.
3.Select the image with the selection tool and click the Image Trace button on the top of the screen.
4.Adjust the presets button, Black and White, 3 or 6 color is usually the best.
5.Adjust using the Image Trace Panel. This is where you can choose to Ignore White (under Advanced) and modify the parameters of your trace.
6.When you are done go to Expand to break the trace apart.
7.Then right-click your image and choose Un-group so that you can select individual pieces.
8. NOTE : if you are unable to get any colors, it is probably because your project is still set to Black and White (from the trace settings) to fix this go to Window>Color and choose RGB from the palette settings.
Painting with Photoshop
- Create a New Document
- File>Place your drawing
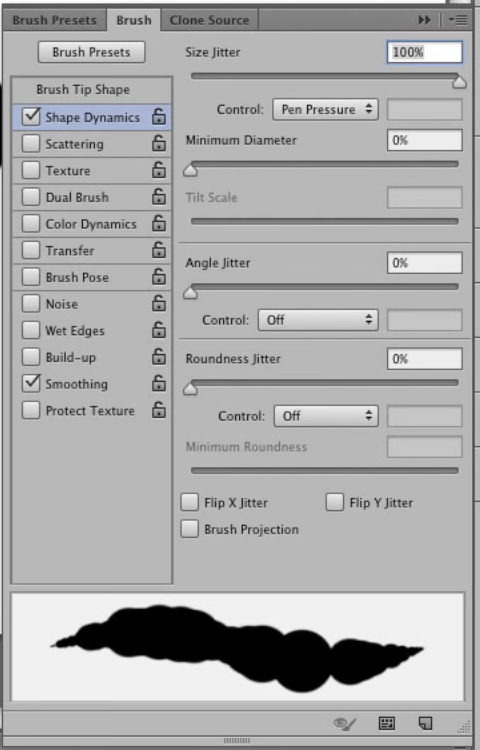
- Adjust your Brush – Window>Brushes and now click on the Brush Tab and the other categories. Shape Dynamics will allow the brush to change size based on pressure. Adjust the SIZE JITTER and change the control to PEN PRESSURE
- Create a new Layer and use the brush to trace your image. Make sure to make complete shapes and don’t leave any gaps.
- Use the MAGIC WAND to select a region of your drawing. Then go to the CREATE ADJUSTMENT LAYER BUTTON and choose SOLID COLOR. This will give you a new layer with your color inside your selection.
- Create a new layer and add a Shade tone. Use a soft brush for this. Then right-click and choose CLIPPING MASK to make this layer stick to the one below.
- Create a new layer and add a Mid tone. Then right-click and choose CLIPPING MASK to make this layer stick to the one below.
- Create a new layer and add hightlights.Then right-click and choose CLIPPING MASK to make this layer stick to the one below.
- Create a new layer and use a soft brush to blend the colors. Use ALT to sample colors and then blend them in this new layer. Click with Alt many times to sample all your shades.
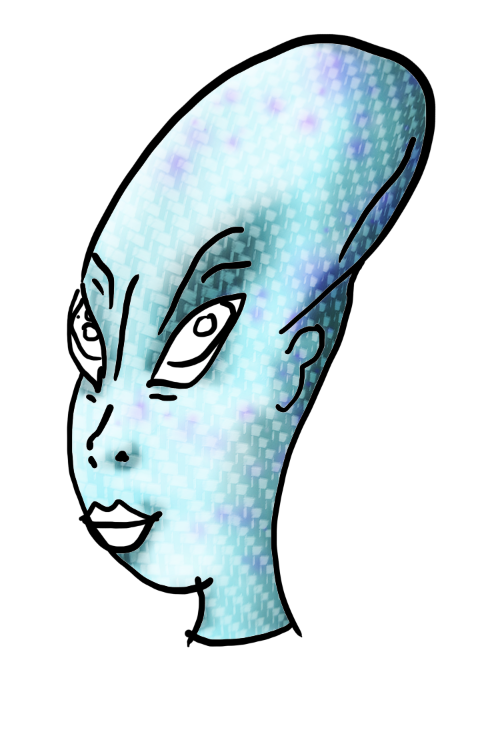
- Next add SCATTER BRUSH or a new TEXTURE LAYER to add details.
- Then create a merged copy. SELECT ALL , EDIT>COPY MERGED, Create a New Layer above everything, EDIT>PASTE.
- Use BURN and DODGE tool to add final touches.
Select Same
To help with the color selection process and to remove unwanted necessary colors, select a color with the selection tool then go to Select>Same>Fill Color to find other similar colors
Fonts
When working with Fonts, right-click and choose Create Outlines. This will make sure that you don’t lose your font’s appearance if you move to a different computer.